Renter-friendly kitchen upgrades you can undo on move-out day
This post may contain affiliate links. If you buy through them we may earn a small commission at no extra cost to you. Read our disclosure.
You know the rental kitchen. Beige laminate counter, cabinets that came from a catalog in 2004, one sad ceiling light that puts your own shadow right on the cutting board. You can’t rip any of it out. You can change more of it than you’d think, though.
My one rule for this list: if you can’t put it back the way you found it in an afternoon, it’s not here.
And before you touch anything, take photos. Every surface, with the date on them. It feels a little paranoid. It’s also the thing that wins arguments at the final inspection.
Read the lease first (boring, I know)
Some leases ban adhesives on walls outright. Some say nothing at all. If yours is vague, send a short email: “I’d like to swap the cabinet knobs and keep the originals to put back when I leave. Is that OK?” A written yes protects you later, and a lot of landlords are happy to say yes to anything that makes the unit nicer, as long as nobody surprised them with it.
Swap the cabinet hardware
If you only do one thing, do this one. Knobs and pulls are held on by a screw or two from inside the door. You need a screwdriver and maybe twenty minutes.
The catch is hole spacing. Pulls are sold by “center-to-center” distance, meaning the gap between the two screw holes, and common U.S. sizes are 3 inches and 96 mm (about 3 3/4 inches). Measure before you order. Buy the wrong spacing and you’re drilling new holes, which kind of defeats the point. Knobs are easier, since a single-hole knob just swaps for another single-hole knob.
Put the old hardware and screws in a zip bag, write “kitchen hardware” on it, and tape it inside a cabinet. Future you will be grateful.
Finish-wise, I’d go warm metal on white or wood cabinets and black on light gray. But it’s your kitchen.
Peel-and-stick backsplash (with a couple of warnings)
The good peel-and-stick tiles now are thick vinyl or gel “smart tiles” with a raised, grout-ish texture. From a few feet away they pass for real tile. The cheap flat ones don’t, honestly.
They stick best on smooth painted drywall or over existing tile that’s flat and clean. Two places to slow down:
- Behind the stove. Most manufacturers set a minimum clearance from gas burners, or tell you not to install directly behind a range at all. Read your product’s instructions. If you’re unsure, stop the tile short, or use a stainless sheet rated for heat.
- Flat or freshly painted walls. The adhesive can pull flat paint off when you remove it. Stick one tile somewhere hidden for a week, then peel it off slowly and see what happens.
Clean the wall with a degreaser first and let it dry all the way. Start from a level pencil line, not the counter (the counter is almost never level). Turn the power off before you cut around outlets, and use a fresh blade.
To remove, warm each tile with a hair dryer for 20 to 30 seconds and peel back low and slow. Leftover goo usually comes off with warm soapy water or a citrus adhesive remover. Test the remover first.
Ugly counters
You can cover laminate with contact paper or countertop film. I’m going to be honest, though. It’s fiddly. Bubbles and seams happen on a first try, and wrapping the edge around a sink is miserable. If you try it, buy extra and practice on a small piece.
Lazier options that work better than they should: a big wooden cutting board or butcher-block slab that just lives next to the stove (covers the worst stretch and gives you real prep space), a tray that corrals the oil and salt, and clearing off everything you don’t use every day. A bare counter makes any finish look less bad.
Light under the cabinets
That single ceiling fixture is why you’re always working in shadow. Stick-on or magnetic LED bars under the upper cabinets fix it without an electrician.
Rechargeable motion-sensor bars are the easiest because there are no cords at all. Plug-in LED strips give more even light, and you can hide the cord along the underside of the cabinet with little adhesive clips. Warm white (around 2700 to 3000K) feels cozier at night. Neutral white (3500 to 4000K) is better if you mostly want to see what you’re chopping.
The ceiling fixture itself
Swapping it means wiring, so ask first. Plenty of landlords are fine with it if a licensed electrician does the work and you put the original back when you leave. If the answer’s no, a plug-in pendant hung from a ceiling hook and swagged to an outlet gets you most of the look.
A rolling cart is the island you’re allowed to have
Most rental kitchens are short on prep space and storage. A sturdy cart with a wood or steel top adds both, rolls out of the way, and comes with you when you move. Get locking casters. And look for a top close to counter height (standard U.S. counters are about 36 inches), otherwise it’s just a shelf on wheels.
Hooks, rails, tension rods
Adhesive hooks can hold oven mitts, towels, measuring cups, even a small utensil rail. Stay well under the weight limit, especially near heat or steam, because steam is what kills adhesive. Wipe the spot with rubbing alcohol first (household cleaners leave a film). When you take them down, pull the tab straight down along the wall, not outward.
For anything heavier, put a tension rod inside a cabinet or across a window recess. No adhesive at all.
Inside the cabinets
So much small-kitchen misery is cabinets that are deep, dark and chaotic. Stackable shelf risers double what fits in a tall cabinet. Pull-out bins under the sink let you actually reach the back. Over-the-door organizers hold foil and cleaning stuff. Removable shelf liner protects the original shelves and makes move-out cleaning easier.
The faucet (only if you’re comfortable with plumbing)
A new faucet changes how the whole kitchen looks and works. It’s a common DIY job, but it involves supply lines. Ask your landlord, shut the valves off, and keep the original in its box. If plumbing makes you nervous, skip this. A slow leak under the sink costs way more than the upgrade is worth. A screw-on aerator or swivel spray head is the low-risk version.
Soft stuff and living stuff
A washable runner warms up a cold floor and catches drips. Get one with a non-slip back or put a pad under it, because a sliding rug in a kitchen is how people fall.
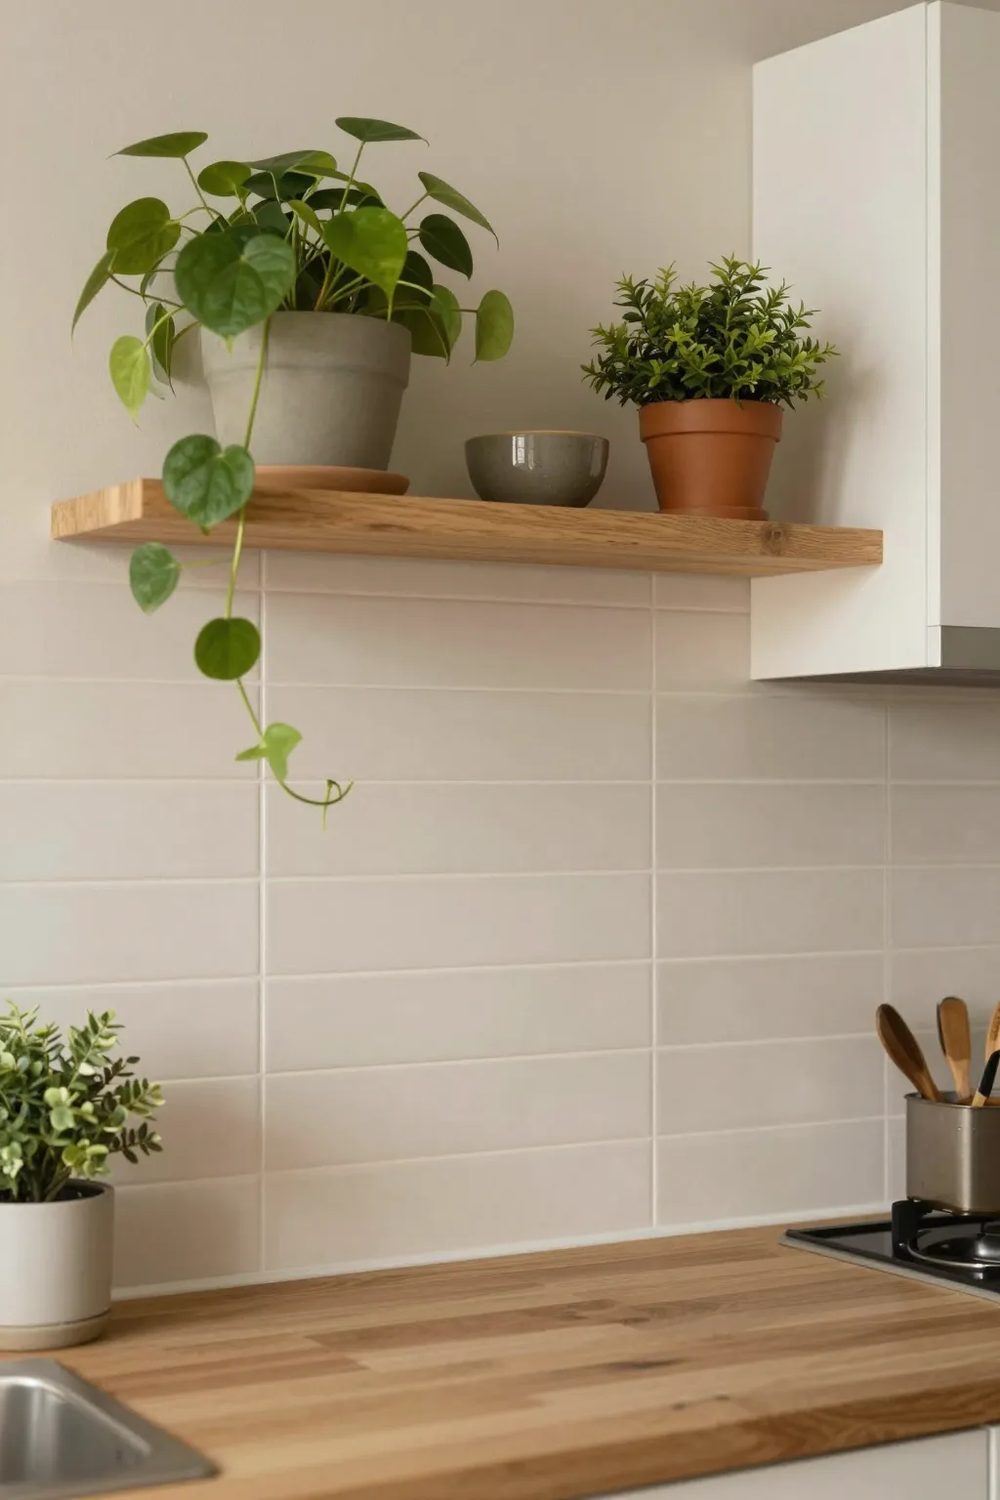
No shelves? Use what’s there. The top of the fridge, the windowsill, the back of the counter. A couple of cookbooks, a plant, the bowls you actually use. That’s enough. If you want real floating shelves, ask. Some landlords allow a few screw holes if you patch and paint before you leave (ask them for the paint color now, not on the last day).
Herbs on a sunny sill are a cliché because they work. Basil, parsley, chives. Dim kitchen? A pothos on top of a cabinet handles much lower light. Keep it away from pets, though, since it’s toxic to cats and dogs.
Move-out week
Not move-out night. Do this a week ahead:
- Put the original hardware, fixtures and faucet back.
- Warm and peel the backsplash tiles, then clean off residue.
- Pull adhesive hooks and light bars with the tab method.
- Patch and touch up any holes you got permission for.
- Take a fresh set of photos that match your move-in ones.
That’s it. Hardware and lighting first. They’re the cheapest, most reversible changes, and they make the biggest difference. Everything else can wait until you know what actually bugs you about the room.